
Create an Angular Material Form using a Data Model
From a data model to a full functioning Angular Material form in a few clicks


Table of contents


No headings in the article.
In this tutorial, we will go from a Stackjoy Data Model to an Angular Material form in a couple of steps. For this example, we will use a data model that comes with the generators but you can always create your data model, and in turn, create your forms quickly.
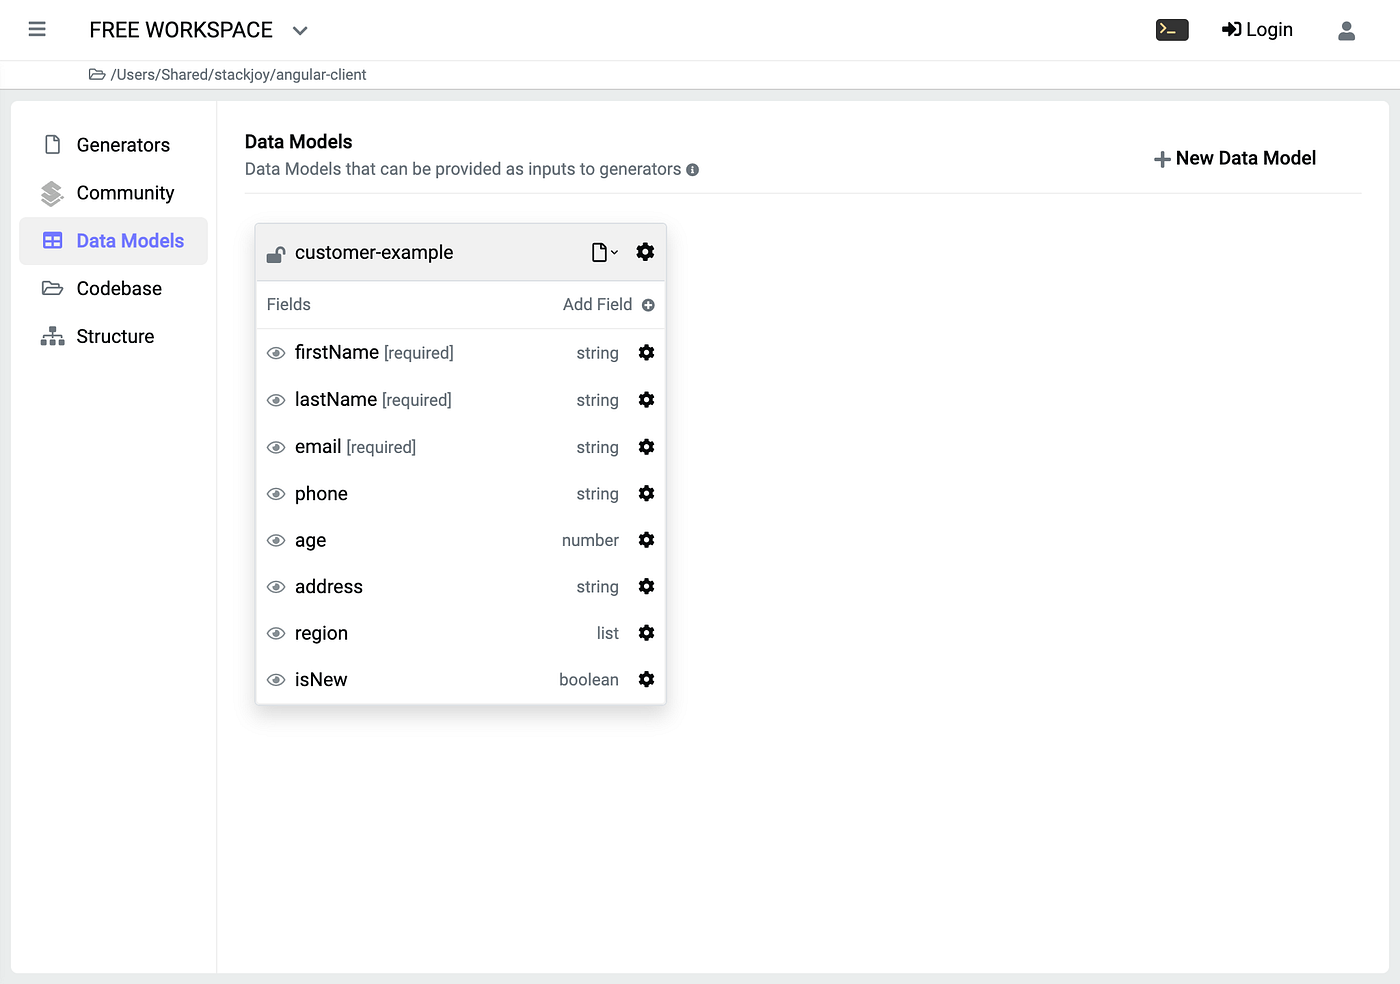
We’ll go from a data model:

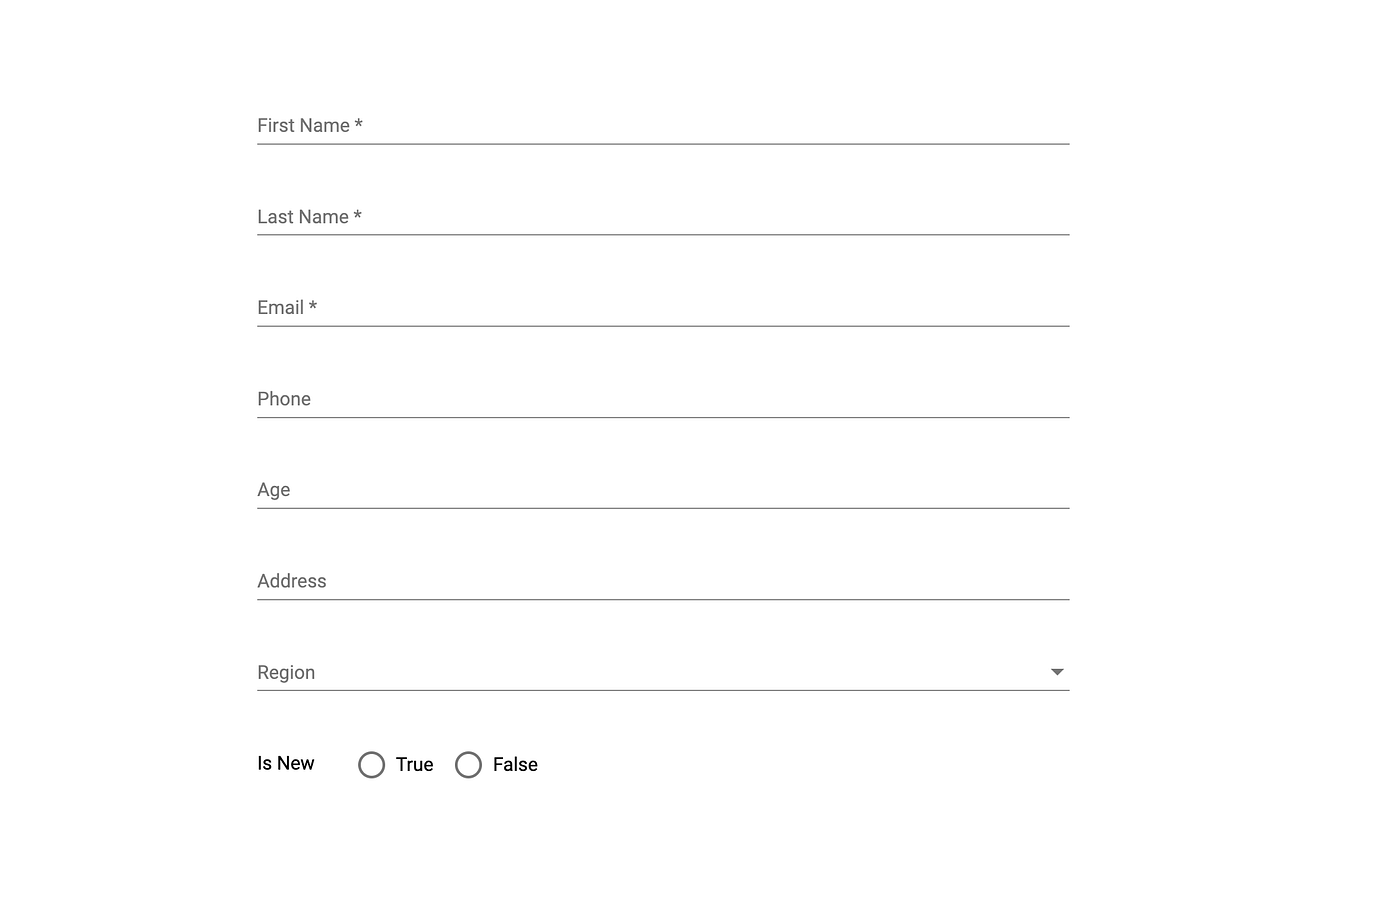
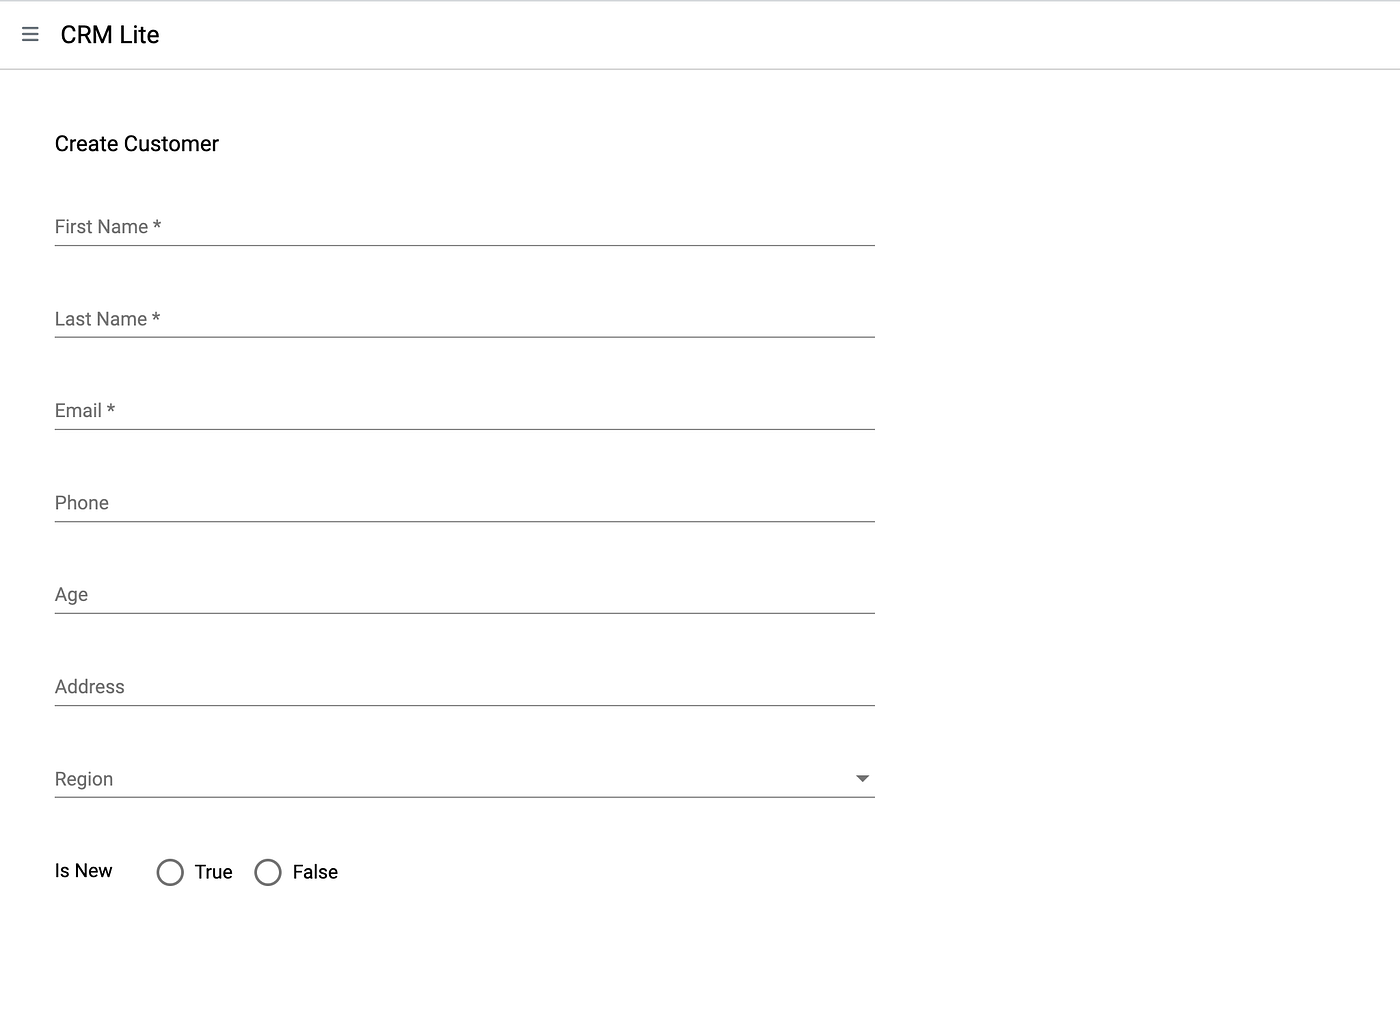
to an Angular Material form:
The whole process is summarized in this GIF

Let's begin…
If you haven’t installed stackjoy you can do so with the following command in your terminal:
npm install stackjoy -g
We want to deploy the generated code of our form into our project codebase. First, make sure you are in the root folder of your project codebase in the terminal. Then, issue the following command to install the Angular Material generators. (read here for full a explanation of why starting stackjoy from the root folder is necessary)
sj install ng-material-generators
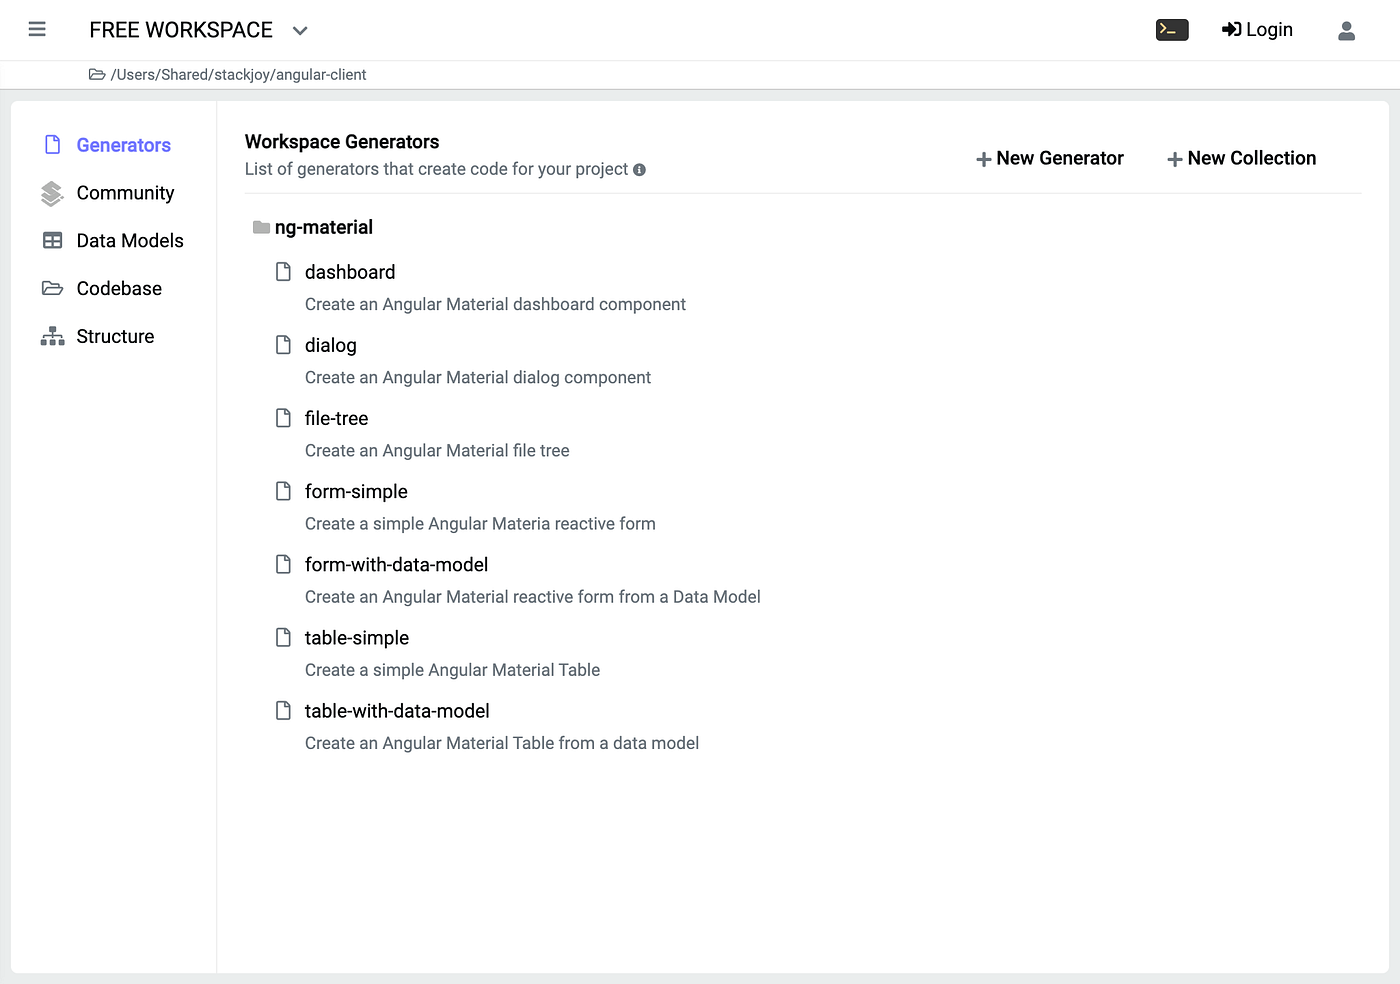
This will launch the Stackjoy app and we will see the Angular Material generators present.
We’ll head over to the Data Models section where a “customer-example” data model awaits us.
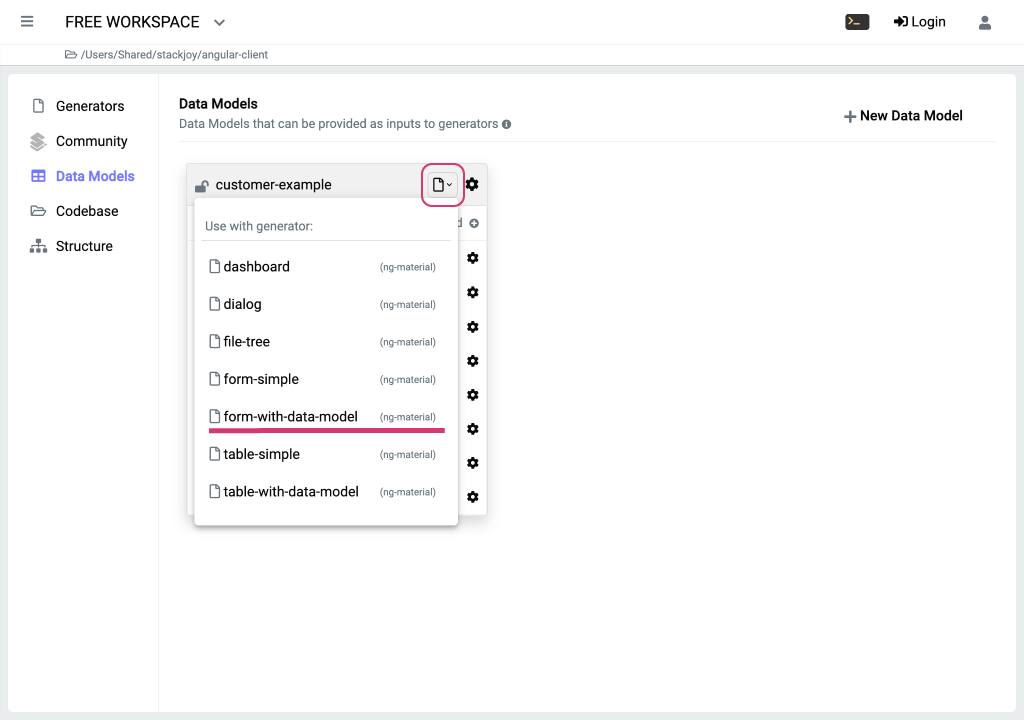
From our example data model we will click on the generators dropdown menu and select the “form-with-data-model” generator.
Selecting the “form-with-data-model” generator brings us to the generator section. Here we can see and edit all of the template files that this generator will use to create our form. For now, there is nothing to change and we simply want to head over to the “Inputs” section to continue.

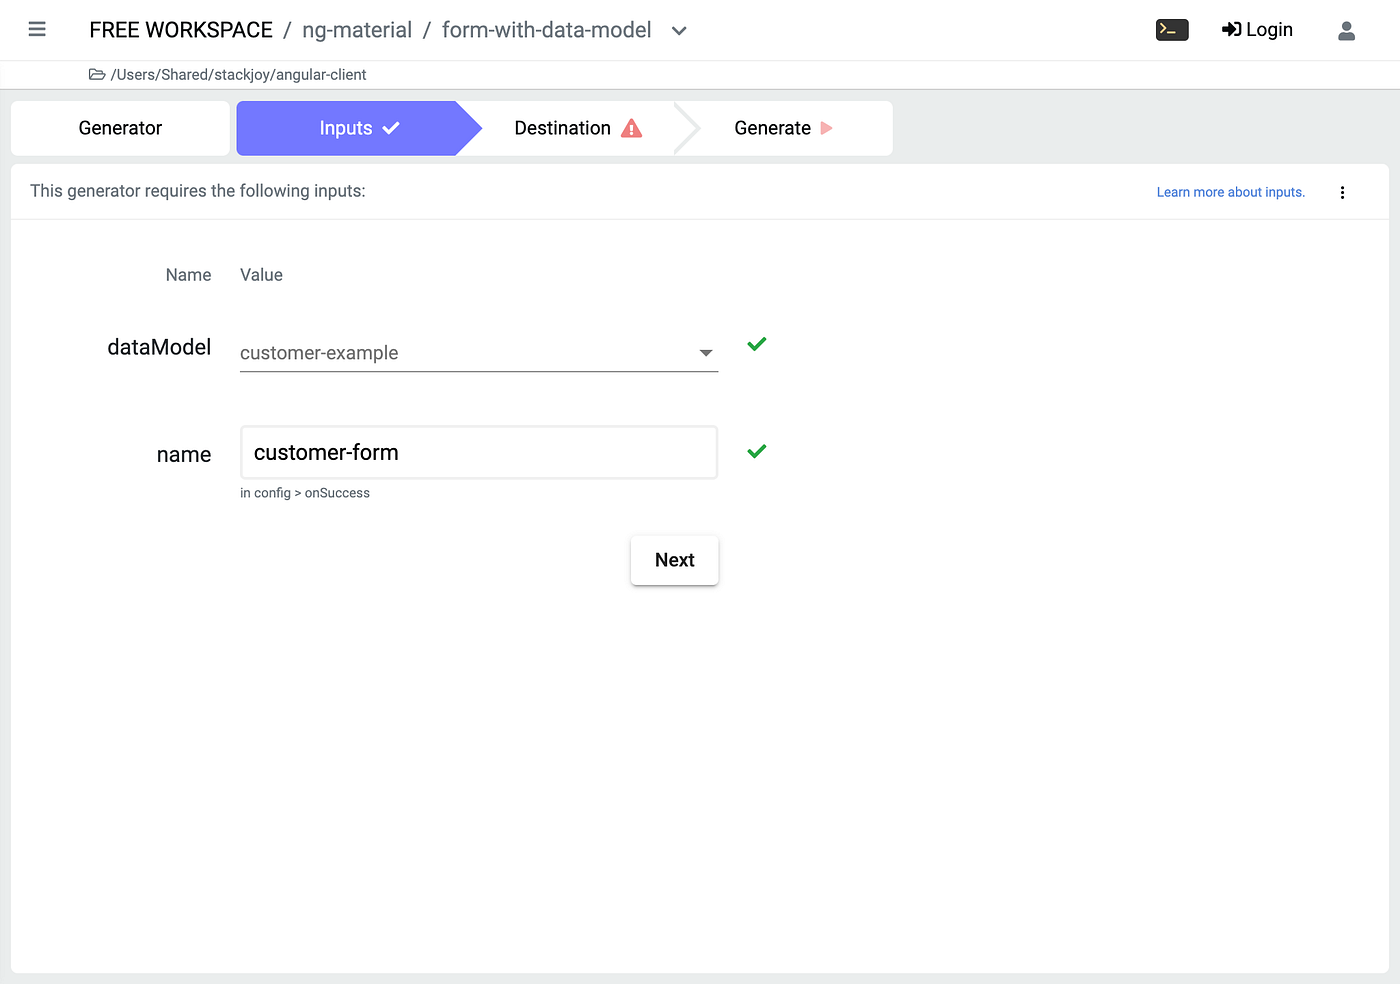
In the “Inputs” section we see that our data model input is already present but we need to give our form a name. Let’s name it “customer-form” and continue next to the “Destination” tab.
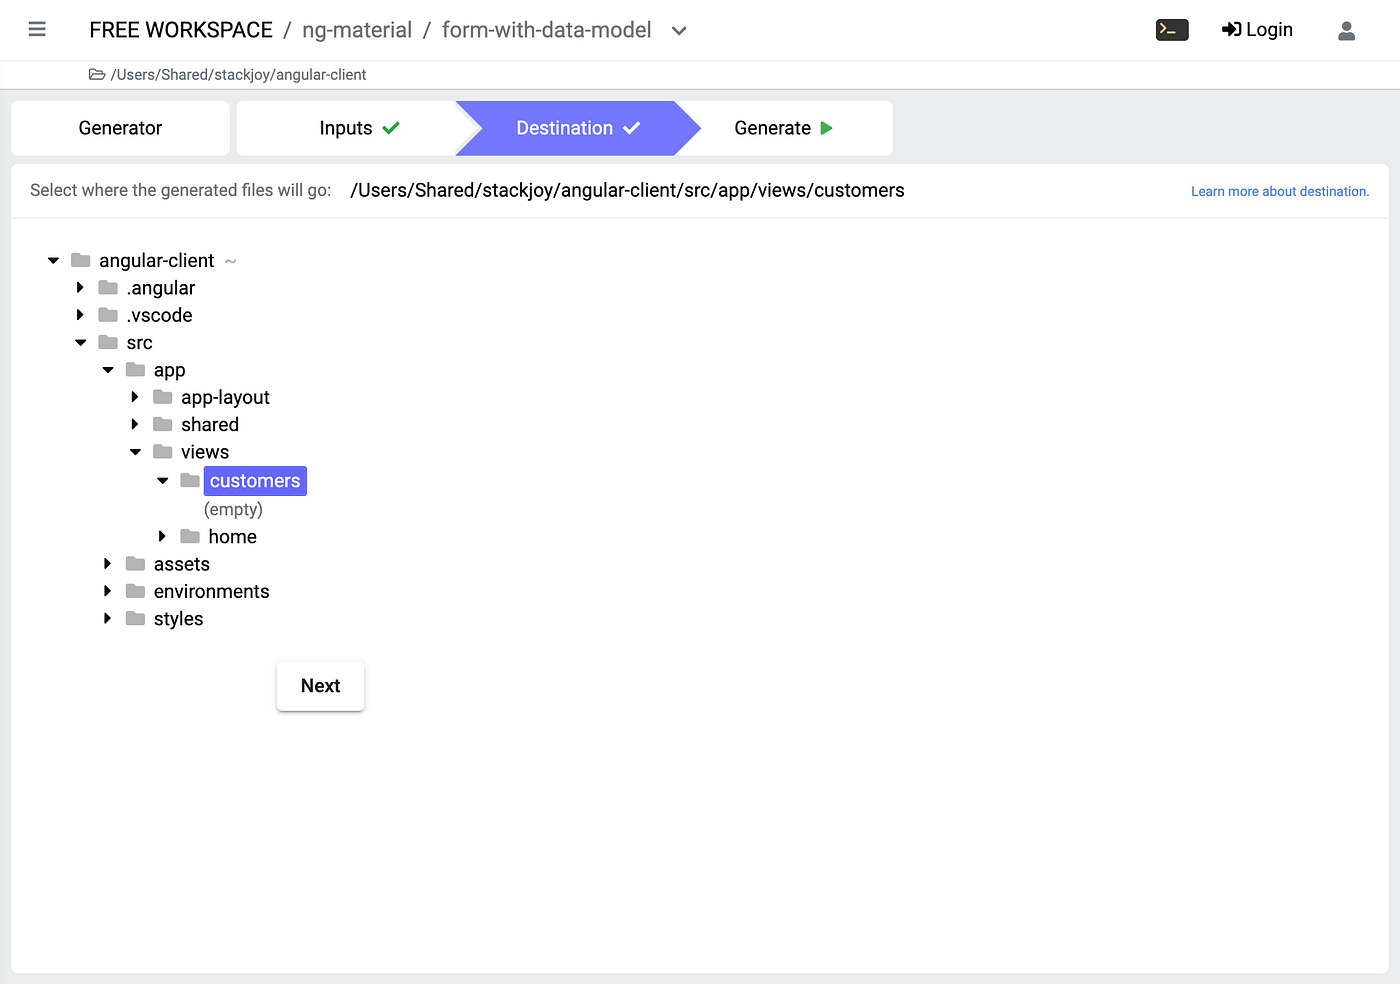
In the “Destination” section we’ll select the folder where we want to place our new form. Next we’ll got to the “Generate” tab to finalize our form creation.
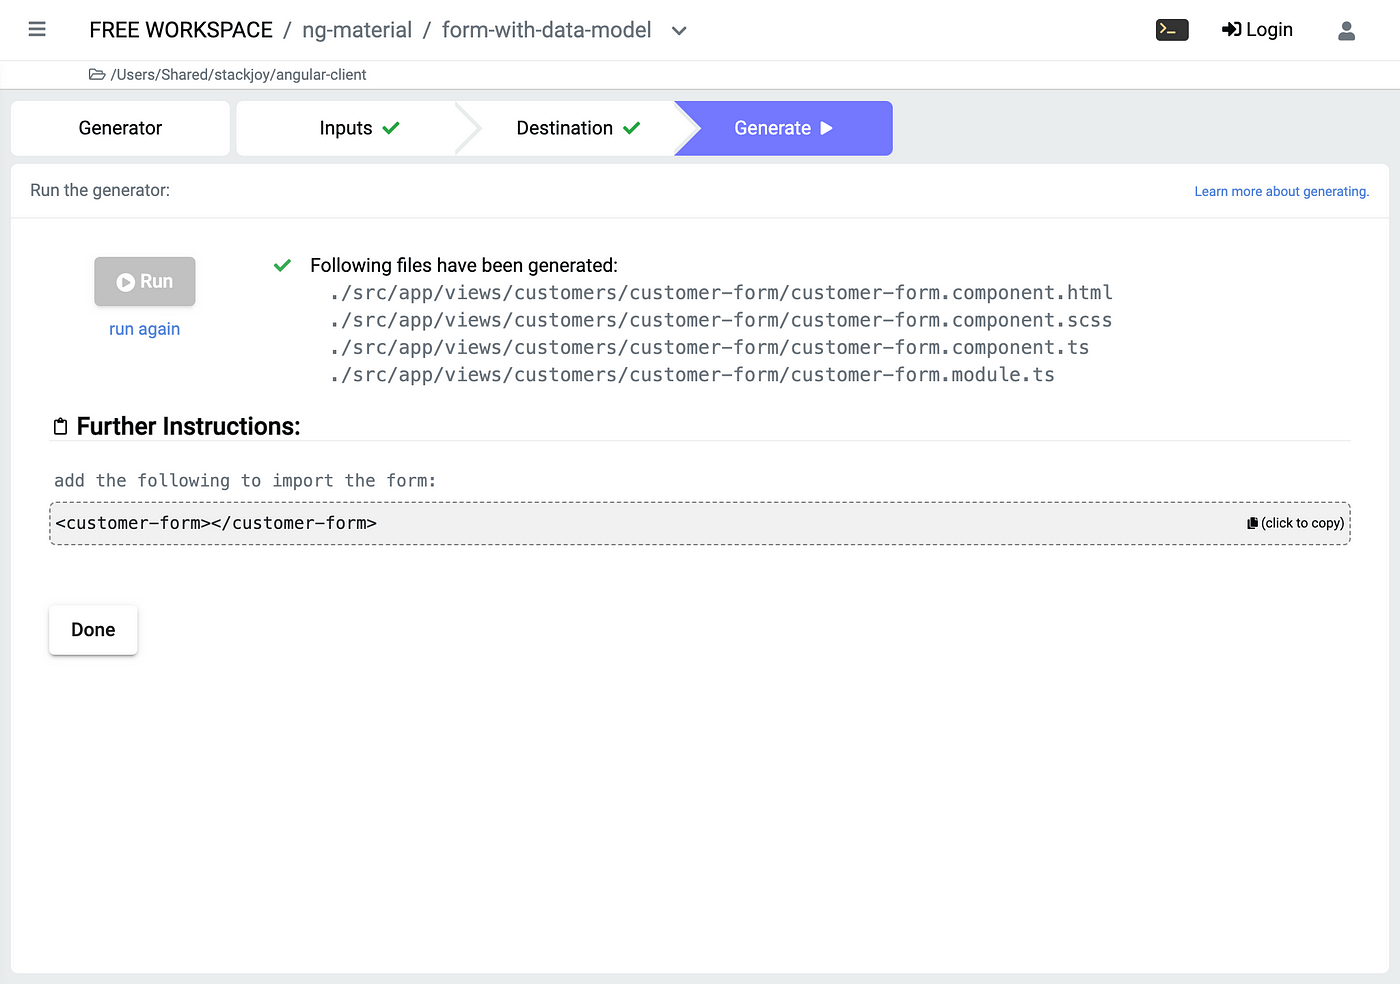
In the “Generate” section we’ll click on the “Run” button to create our form and in the “Further Instructions” we’ll copy the little snippet of code that allows us to add our new form to our existing Angular project. Your IDE should automatically import the new form when you paste the snippet. If that’s not the case, the form itself is a component that comes with a module and all you need to do is import the form’s module into the component that it’s going into.
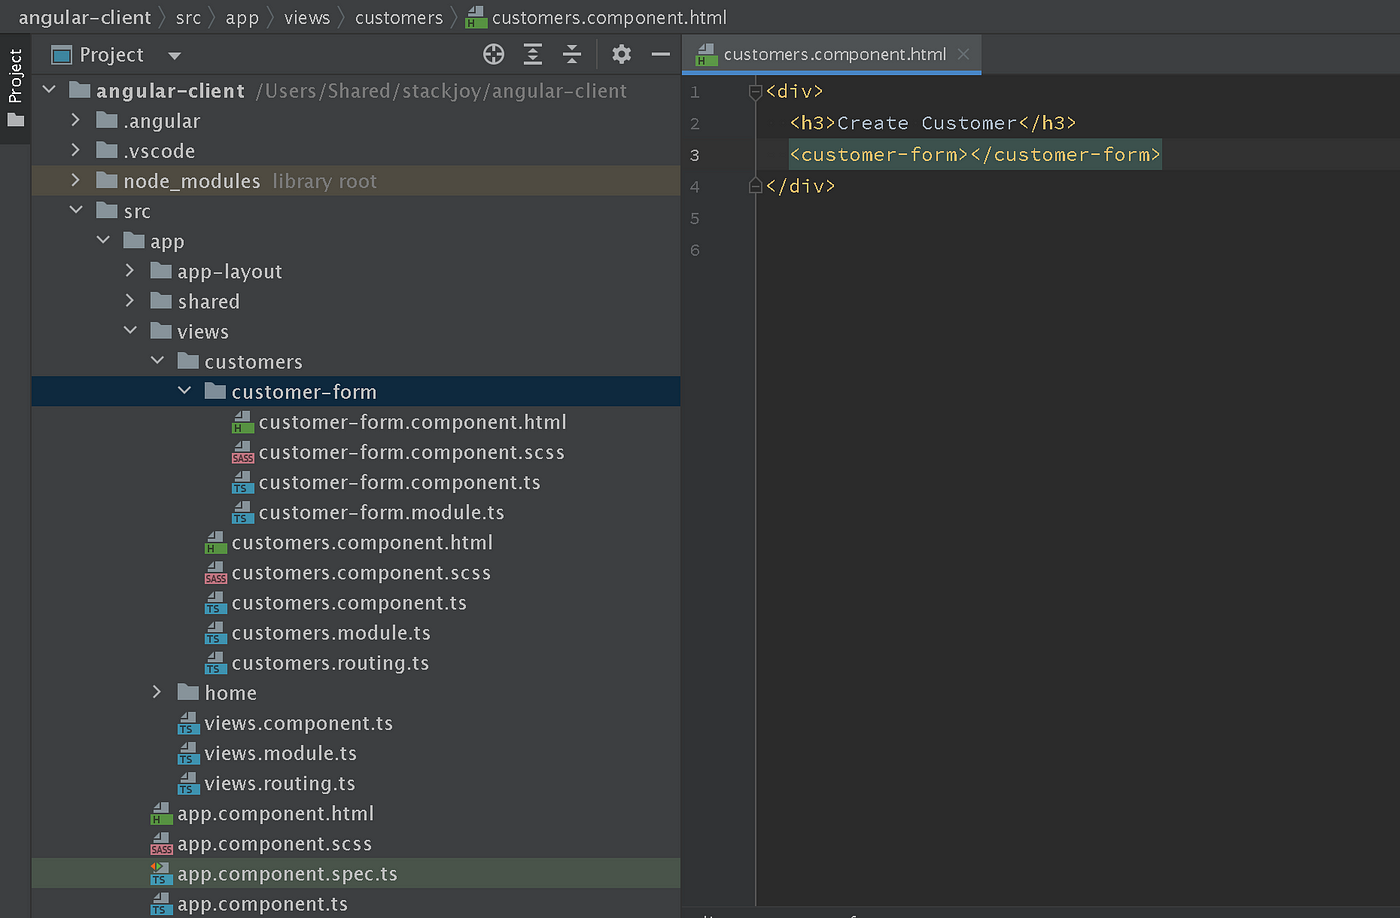
We can see the form’s generated files in our codebase.
And finally we can see our form in our project.
We used a pre-defined data model for this tutorial but you can create your own data models and generate your custom forms by repeating the above steps.
Since all of the generators are editable you can change the template files that create the code for the form and truly customize the form to your project’s needs.
Similarly, you can quickly create custom Angular Material tables that fit your data.